
UTM Tracking for QR Codes, Email and Social
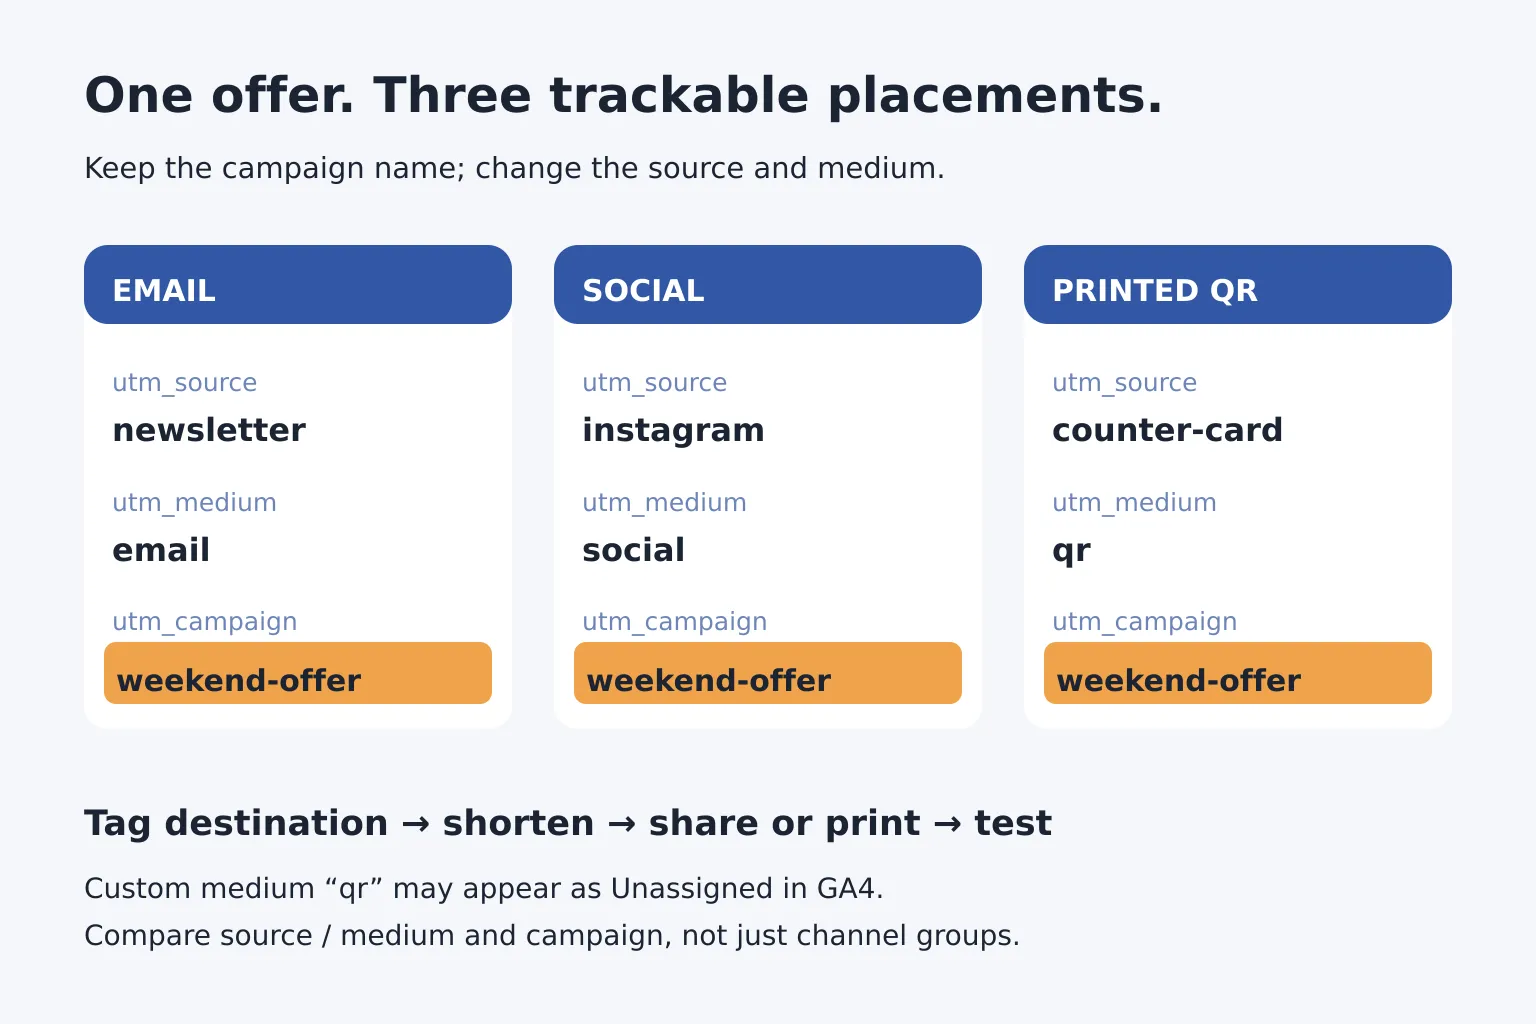
For UTM tracking for QR codes, add campaign tags to the destination URL before generating the code or shortening the link. Keep one campaign name across the promotion, but give each placement its own source and medium. Your destination website needs analytics that reads those tags; a QR scan alone does not tell you what happened after the page opened.
What do UTM tags track?
UTM parameters are labels added to a URL so compatible website analytics can identify the campaign that brought a visit. Google’s guide to campaign URLs describes how to build them.
For a simple promotion, start with these three fields:
| Field | Question it answers | Example |
|---|---|---|
utm_source |
Which platform or physical placement sent the visitor? | newsletter, instagram, counter-card |
utm_medium |
What kind of channel was it? | email, social, qr |
utm_campaign |
Which promotion does the visit belong to? | weekend-offer |
Use utm_content when you need to distinguish versions within one placement, such as headline-a and headline-b. Keep the other fields unchanged for a clean version comparison.
Use one naming sheet for email, social and printed QR
Suppose a shop promotes a weekend offer through its newsletter, an Instagram profile link and a printed counter card. The example URLs below are placeholders, not live offers.
Use the same destination page and campaign name, with different source and medium values:
| Placement | Source | Medium | Campaign |
|---|---|---|---|
| Newsletter | newsletter |
email |
weekend-offer |
| Instagram profile | instagram |
social |
weekend-offer |
| Printed counter card | counter-card |
qr |
weekend-offer |
The cover shows this naming sheet: the orange campaign value stays the same in all three columns. If you add a window poster, give it a distinct source such as window-poster; reusing counter-card would combine the two placements in that source’s report.
Agree on lowercase names and one word separator before anyone makes links. Google treats UTM values as case-sensitive: Newsletter and newsletter are different values. Keep a campaign sheet with the destination, tags, placement and launch date so colleagues copy names rather than recreate them.
For a recurring promotion, use a distinguishing campaign name such as weekend-offer-2026-11-21. Reusing weekend-offer every week makes those promotions harder to separate by campaign name alone.
How to set up UTM tracking for QR codes
1. Tag the destination before making the shared link
The counter card’s destination would be:
https://example.com/weekend-offer?utm_source=counter-card&utm_medium=qr&utm_campaign=weekend-offer
The newsletter uses the same page with utm_source=newsletter and utm_medium=email. The Instagram profile uses utm_source=instagram and utm_medium=social.
A URL’s first query parameter starts with ?; subsequent parameters use &. If the page already has a parameter, such as ?location=central, preserve it and append the tags with &. Put query parameters before any # fragment, which identifies a section of the page. Avoid duplicate UTM fields with conflicting values.
Tags are visible in public URLs. Never use customer email addresses, passwords or access tokens as campaign labels.
2. Create a separate short link or QR record per placement
If you shorten the destination, save the complete tagged URL as the redirect’s destination. Putting tags only on the shared short URL relies on the shortener forwarding them; test that behavior rather than assuming it.
For the printed counter card, generate a QR code that leads to its tagged destination, directly or through an editable redirect. For the newsletter and Instagram profile, create separate short links to their corresponding tagged destinations. One shared redirect to one tagged destination cannot distinguish all three placements.
Choose an editable redirect if the printed code will need a new destination later. Our guide to changing a QR code destination without reprinting explains that choice and how to prove the existing code is editable.
3. Test the final page and analytics before printing
Open each shared link from a draft of its actual placement. Scan a printed QR sample at the intended size and position. After every redirect, check that the final page has the correct offer and source, medium and campaign values.
With destination analytics configured and any required consent given, confirm a test visit is collected with the expected tags. Record your test time so you can distinguish testing from campaign activity. A URL containing tags proves the labels arrived; it does not prove analytics recorded a visit.
If tags disappear, inspect the redirect destination and any further redirects on the website. Resolve the missing labels before distributing the links or ordering the print run.
Why can QR traffic appear as Unassigned in GA4?
Google Analytics 4 uses predefined rules to group traffic into channels. A custom medium such as qr or print may appear as Unassigned because it does not match those rules. That label alone does not mean your UTM tags were lost.
Google’s default channel definitions include email and social rules, but no dedicated printed-QR channel. Its tagging troubleshooting guide explains why user-defined sources and media can be unassigned.
For this campaign, compare Session source / medium and Session campaign in GA4’s Traffic acquisition reporting. Look for counter-card / qr under the same campaign as newsletter / email and instagram / social. If you need a separate Print or QR channel in summaries, configure a custom channel group; don't relabel printed traffic as social just to fit a default bucket.
There is no universal required QR medium. Choose qr to group scans across placements, or print to group printed materials, then use that convention consistently. The example here uses qr.
Compare visits with the outcome you actually need
Use the same reporting window for all placements and note different launch dates. Short-link clicks, QR scans and recorded website sessions measure different events, so their totals need not match.
To evaluate bookings, signups or purchases, configure the corresponding destination event and check it alongside campaign traffic. More visits from a counter card do not establish more sales or prove the promotion caused those sales.
When updating an editable QR destination for a new offer, save the new page with its intended UTM tags and retest the same printed copy. Keep the change time in your campaign sheet; the redirect can stay stable while the destination and campaign name change.
Prepare the three destinations together
URLKai’s weekend retail campaign sample lets you replace the example destination, review the shared campaign and channel tags, then generate and copy all three tagged URLs. The builder creates destinations, not live short links or QR codes; URLKai’s Link Shortener supports custom slugs and click tracking for the sharing step. For a readable-link workflow, see how to create a custom short link and test it.